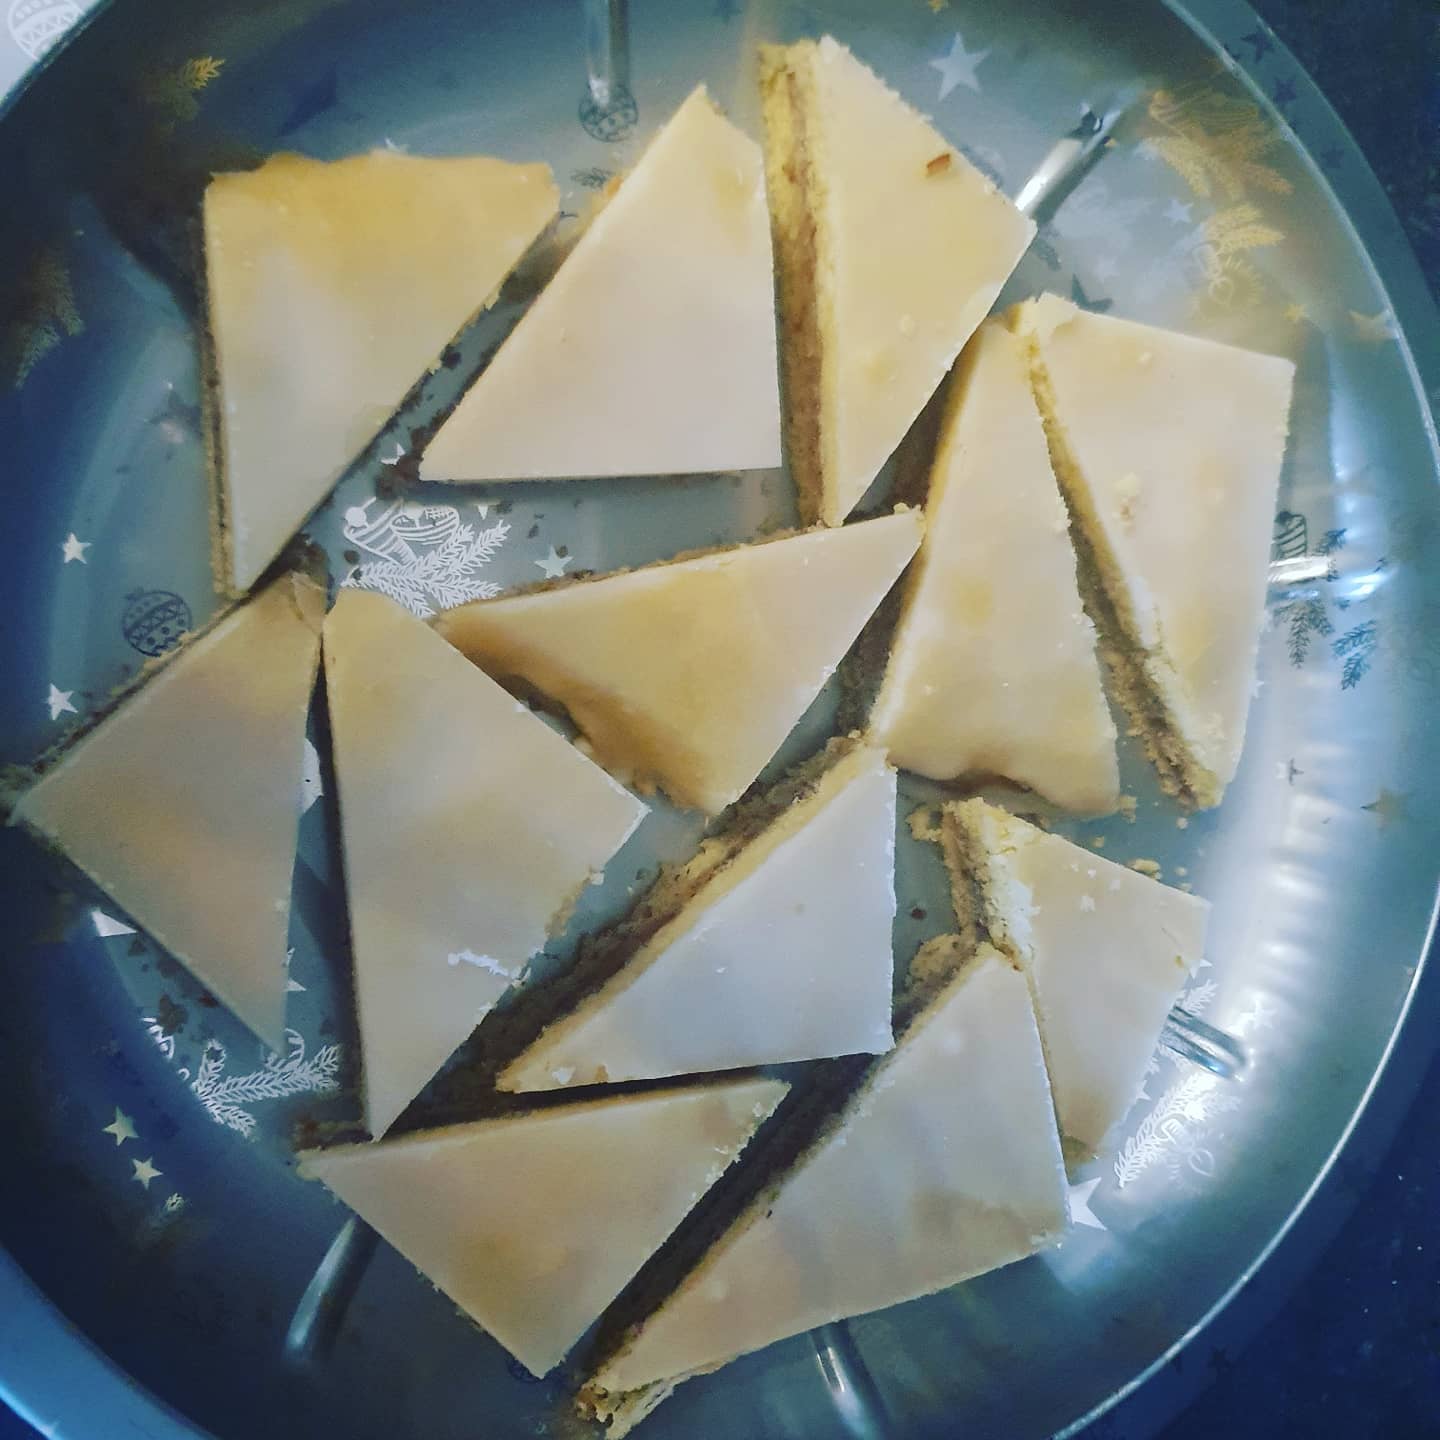
Yuzu-Schnitten mit Mandel
Heute gibt es das erste etwas angehauchte japanische Plätzchenrezept für euch. Meine liebe Freundin Gizem @thetokyofoodie, hat mich auf die Idee gebracht diese Plätzchen zu machen, denn sie war vor kurzem in der Region in Japan, wo es sehr viele Yuzu Früchte gibt. Ich liebe den Geschmack von Yuzu ❤
Teig:
250 g Mehl (für glutenfreie Plätzchen Mehlmischung C Kuchen & Kekse Mix von Schär)
70 g Zucker
150 g Butter
1 Ei
1/2 Pck. Backpulver
Füllung:
160 g gemahlene Mandeln
70 g Zucker
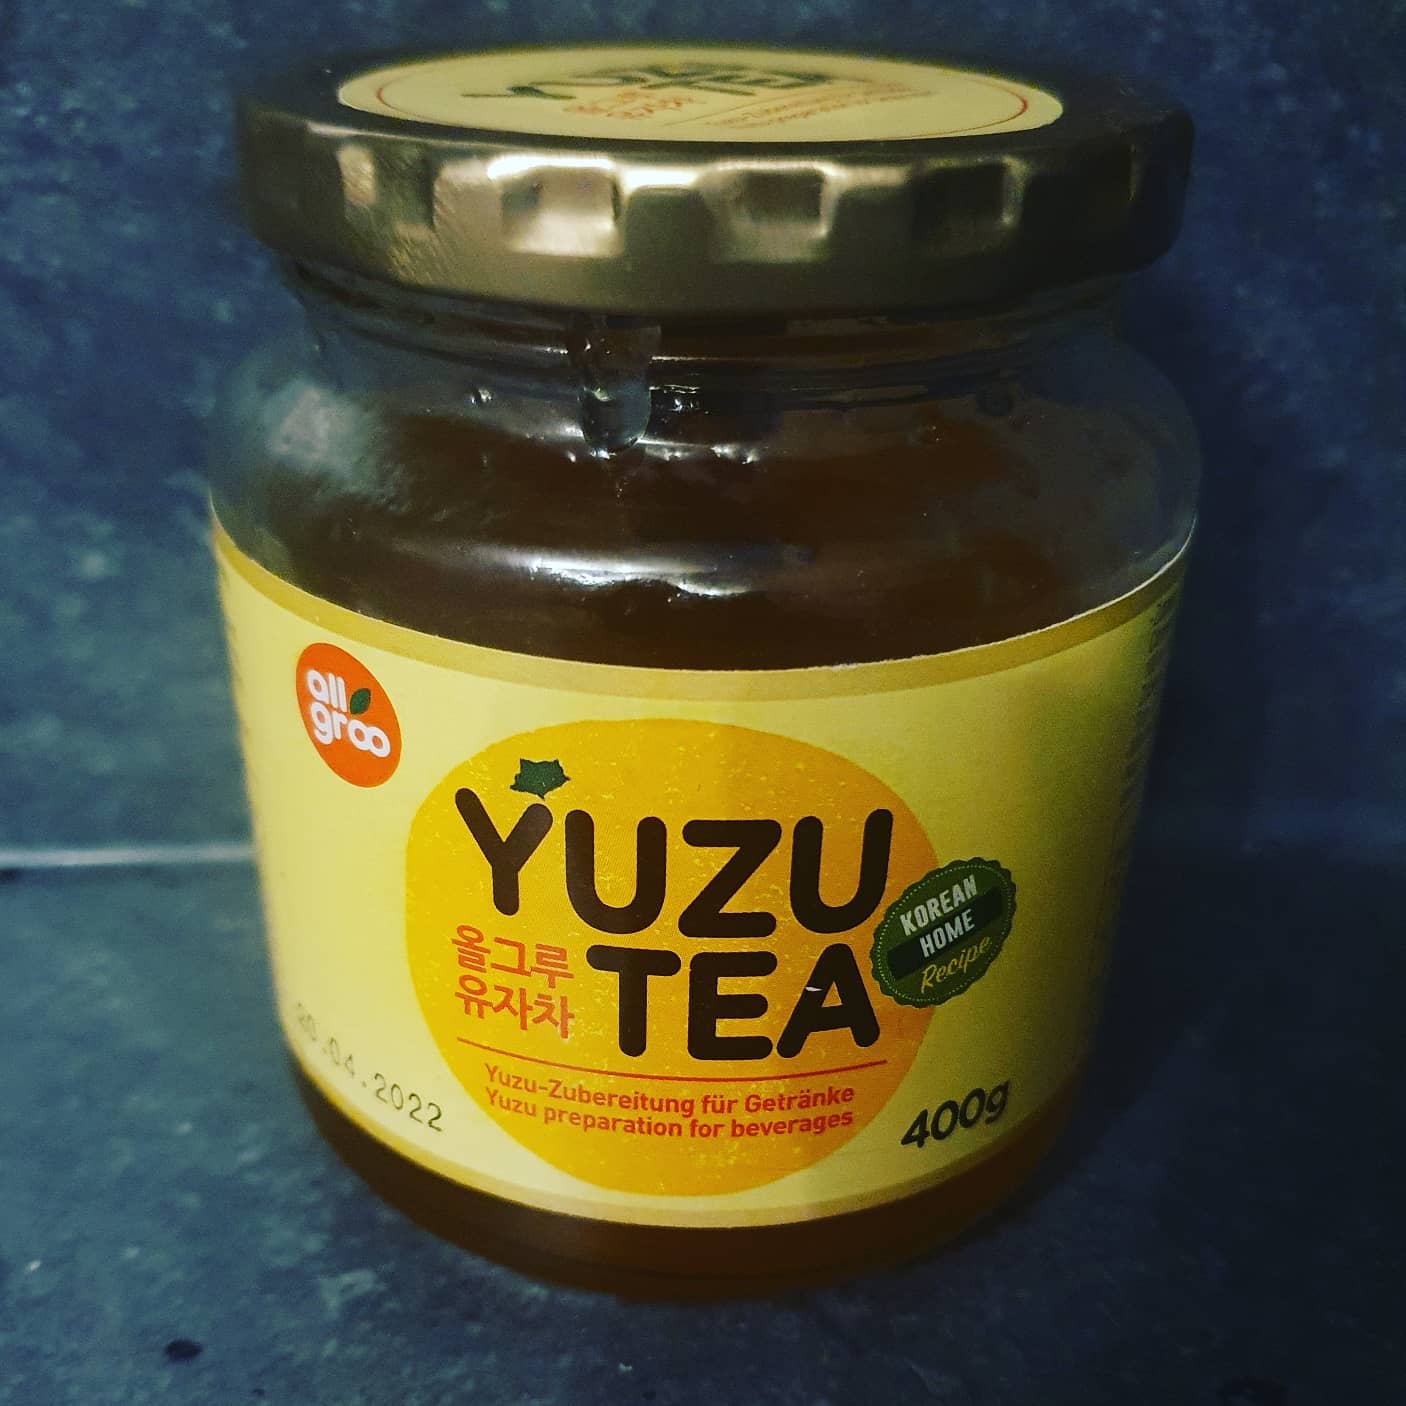
70 g Festanteil von Yuzu Marmelade (120 g Yuzu Marmelade)
100 ml Yuzu-Saft
Glasur:
200 g Puderzucker
Wasser
Zubereitung:
1. Alle Zutaten für den Teig vermischen und gut durchkneten, entweder per Hand oder mit einer Küchenmaschine. Solange kneten bis alle Zutaten gut vermischt sind und ein fester Teig entsteht.
2. Den Teig mind.1 Stunde im Kühlschrank ruhen lassen.
3. Danach 2 Platten ausrollen, die die gleiche Größe haben. Denn sie werden für den Deckel und den Boden der Schnitten gebraucht.
4. Für die Füllung nehmen wir 120 g Yuzu Marmelade und erhitzen diese kurz in der Mikrowelle. Max. 2 Minuten.(Man kann aber auch die Yuzu Marmelade für Tee nehmen.) Dann nehmt ein Sieb und trennt so das feste von der flüssigen Marmelade. Die festen Bestandteile werden nun zerhackt.
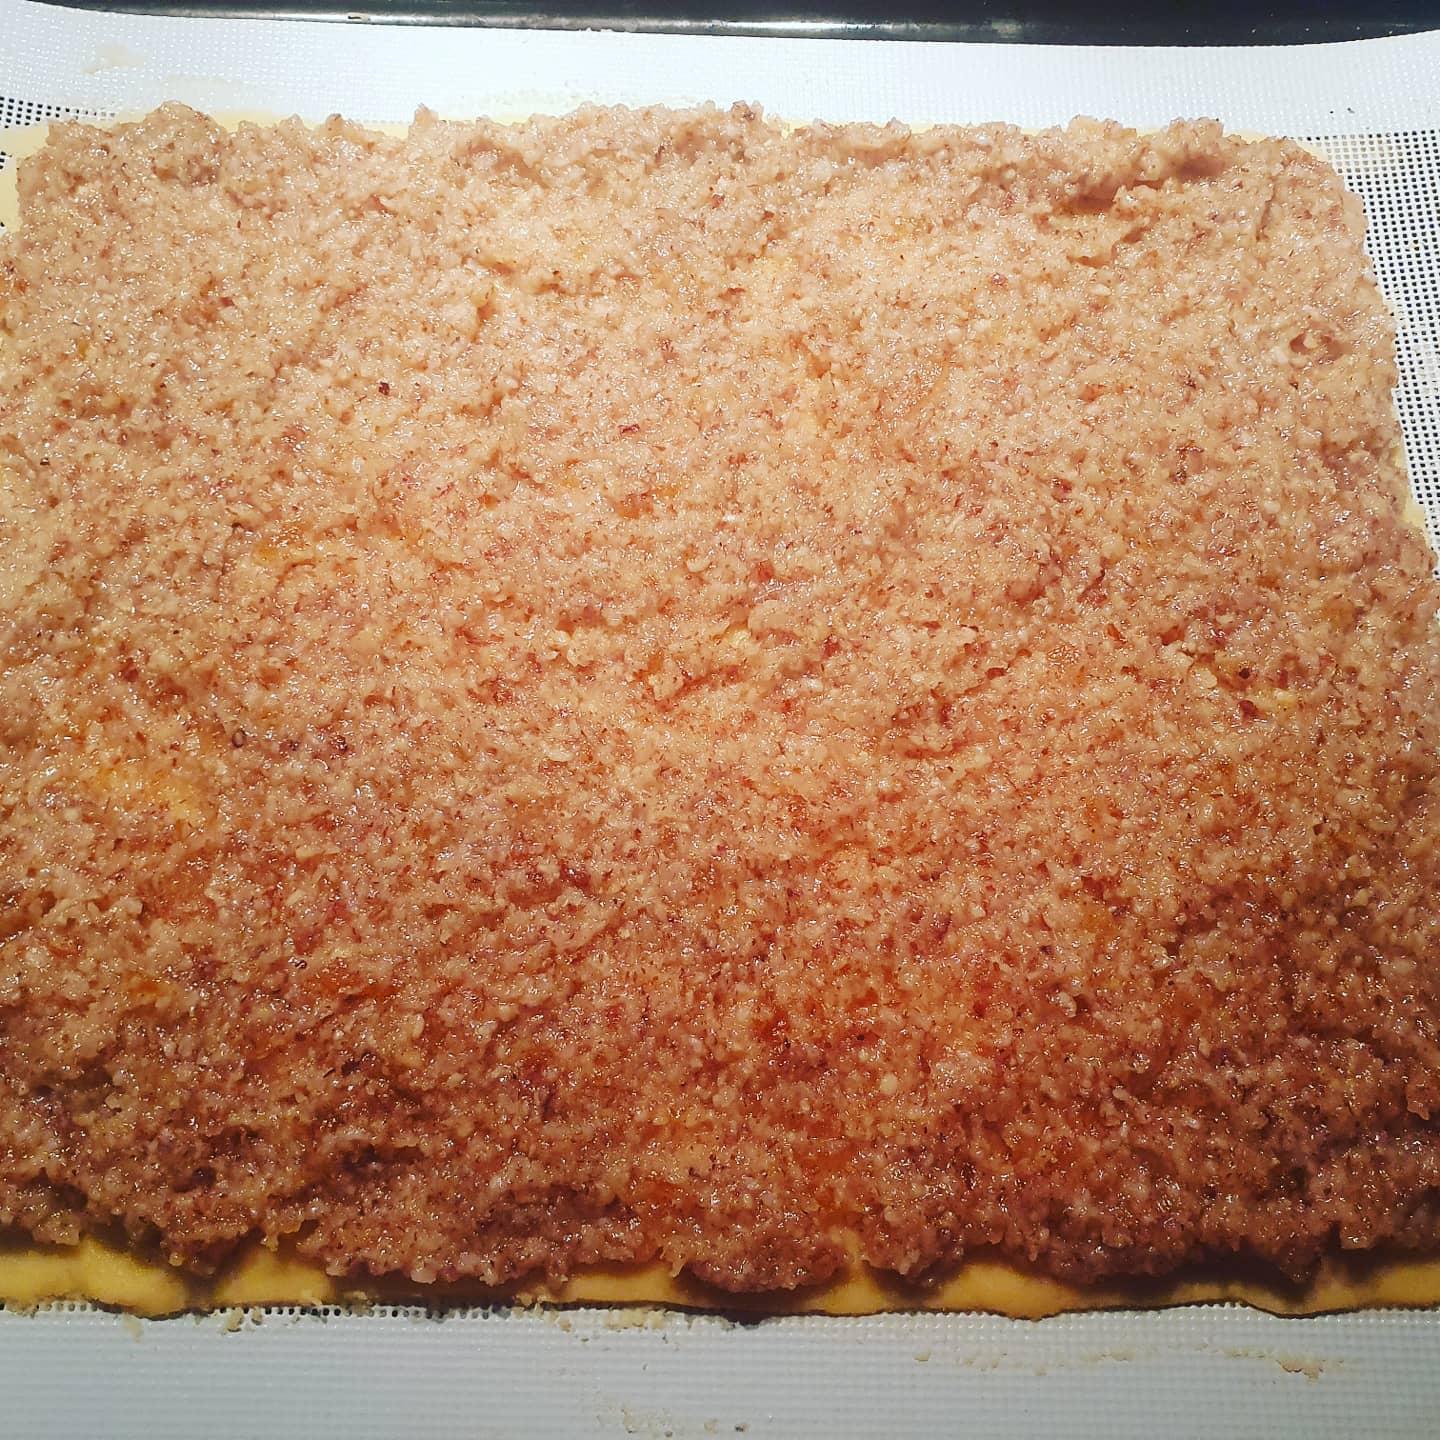
5. Danach werden wieder alle Zutaten vermischt bis sie zu einer streichfesten Masse werden.
6. Die streichfeste Masse wird nun gleichmäßig auf dem Boden verteilt, so dass der ganze Boden bedeckt ist.
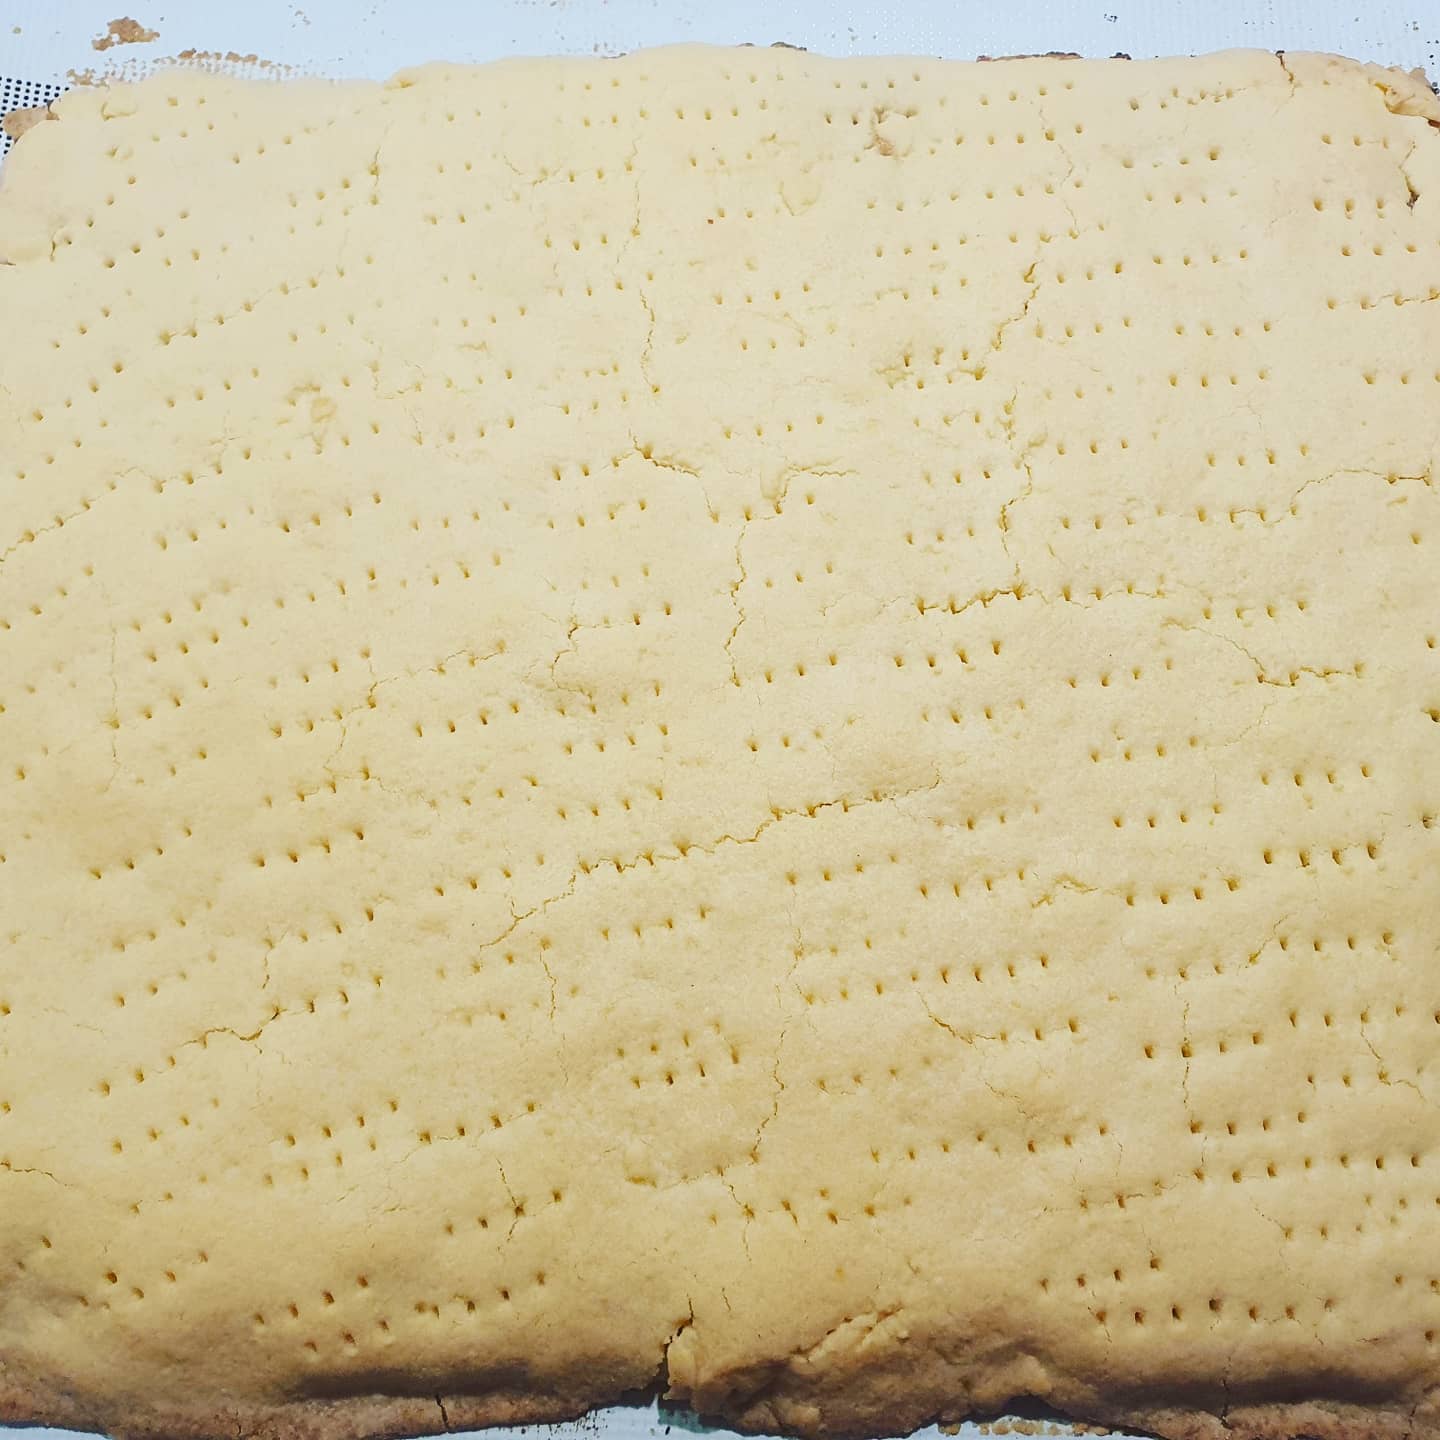
7. Anschließend legt ihr vorsichtig den Deckel auf den Boden und die Füllung. Was ihr unbedingt nicht vergessen dürft, mit einer Gabel Löcher in den Deckel zu machen.
8. Alles zusammen nun in den vorgeheizten Backofen für 15 min bei 150 Grad Umluft.
9. Anschließend holt ihr die Platten wieder raus und lasst sie abkühlen.
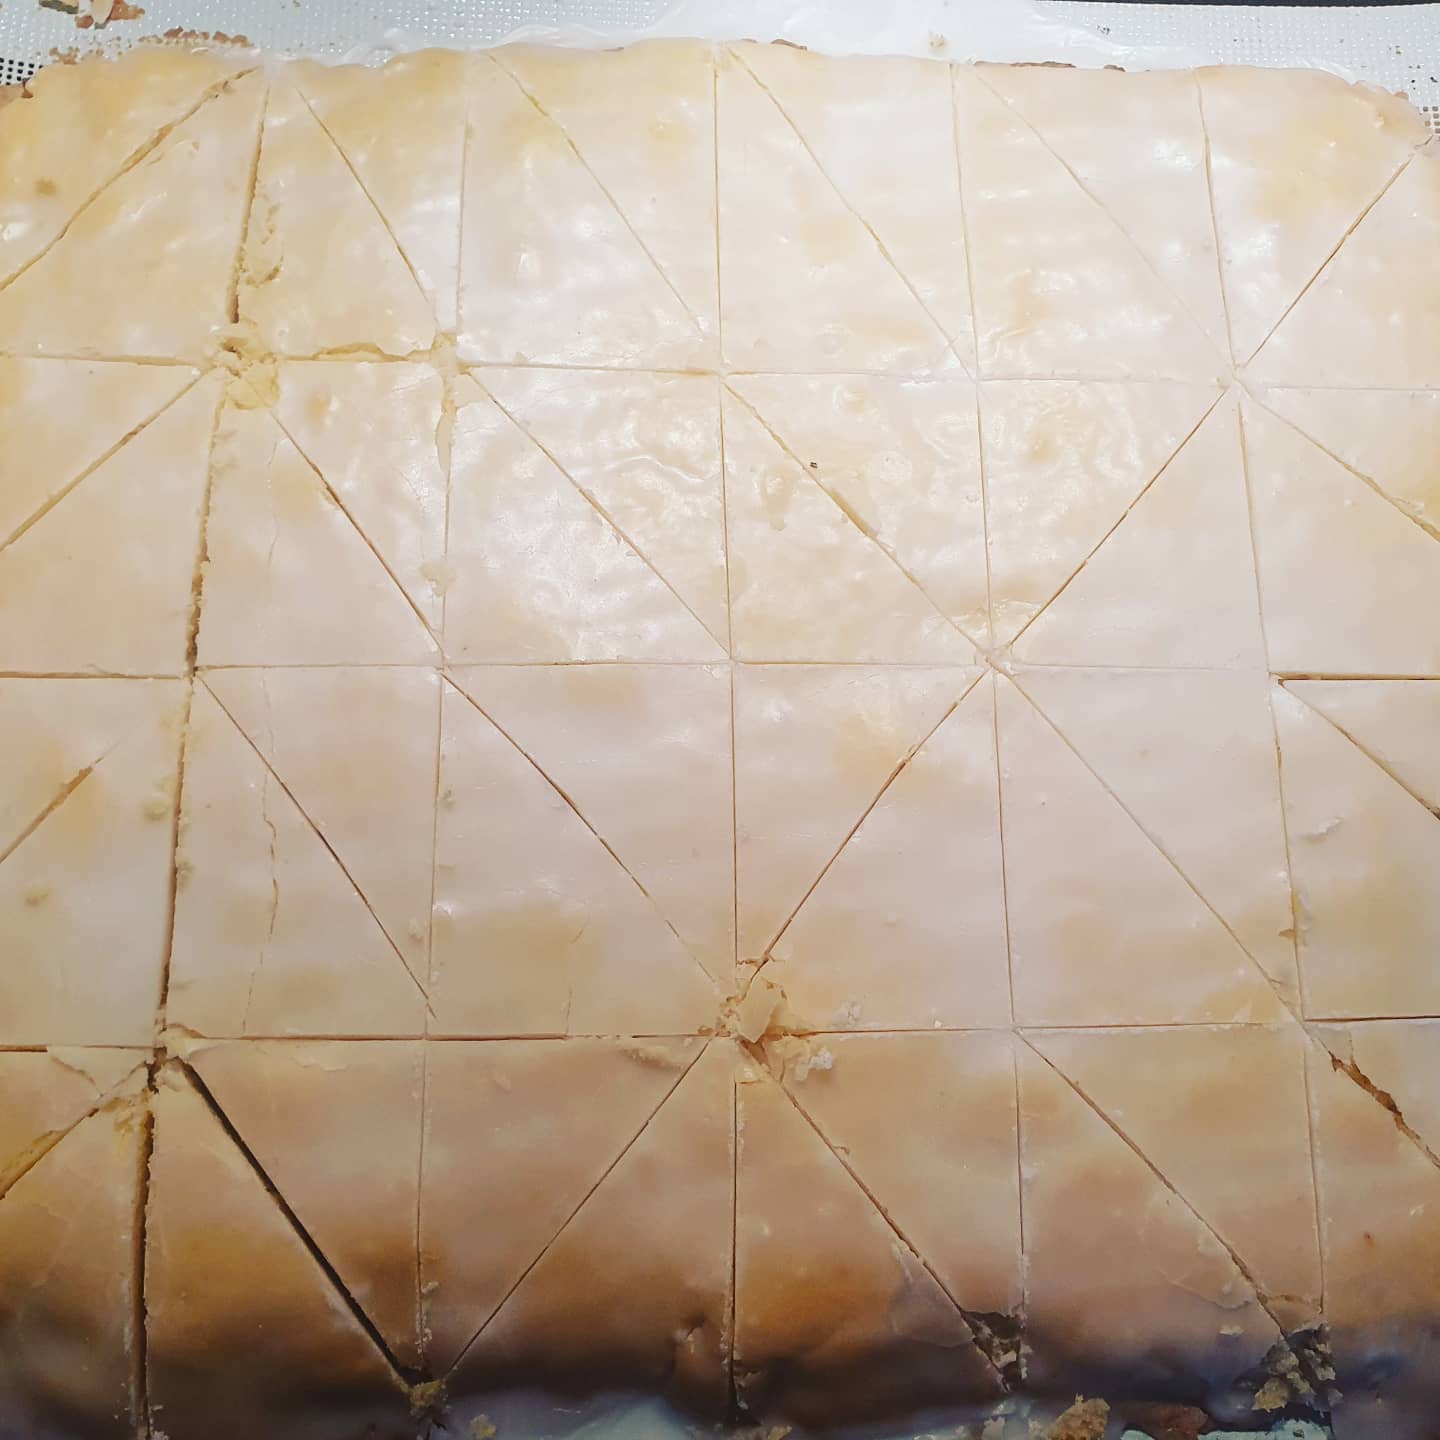
10. Wenn sie abgekühlt sind, stellt ihr mit Puderzucker und Wasser einen Zuckerguss her, den ihr gleichmäßig auf dem Kuchen verteilt.
11. Wartete bis der Zuckerguss fest ist und schneidet dann den Teig in kleine Quadrate oder Rechtecke, wie es euch gefällt.
Yuzu slices with almond
Today there is the first Japanese cookie recipe with for you. Everyone knows the orange slices or the lemon slices. My dear friend Gizem from @thetokyofoodie gave me the idea to make these cookies because she was recently in the region of Japan where there are a lot of yuzu fruits. I love the taste of yuzu ❤
For the dough:
250 g flour (for gluten-free cookies flour mix C cake & biscuit from Schär)
70 grams of sugar
150 g butter
1 egg
1/2 pack of baking powder
For the filling:
160 g grounded almonds (it doesn’t matter whether with the skin or without)
70 grams of sugar
70 g solid portion of yuzu jam (120 g yuzu jam)
100 ml of yuzu juice
For the glaze:
200 g powder sugar
water
Preparation:
1. Mix all the ingredients for the dough and knead well, either by hand or with a food processor. Knead until all ingredients are well mixed and a firm dough is formed.
2. Let the dough rest in the refrigerator for at least 1 hour.
3. Roll out 2 panels that are the same size. Because they are needed for the top and bottom of the cuts.
4. For the filling we take 120 g yuzu jam and heat it briefly in the microwave. 2 minutes maximum. (You can also use yuzu jam for tea.) Then take a sieve and separate the solid from the liquid jam. The solid components are now chopped up.
5. Now all ingredients are mixed again until they become a spreadable mass.
6. The spreadable mass is now evenly distributed on the floor so that the whole floor is covered.
7. After that you carefully put the lid on the bottom and the filling. What you absolutely must not forget to make holes in the lid with a fork.
8. Everything now goes into the preheated oven for 15 minutes at 150 degrees air circulation.
9. Then you take the plates out again and let them cool down.
10. When they have cooled, make a frosting with powdered sugar and water, which you distribute evenly on the cake.
11. Wait until the frosting is set and then cut the dough into small squares or rectangles as you like. I took rectangles myself because I found it nicer.
